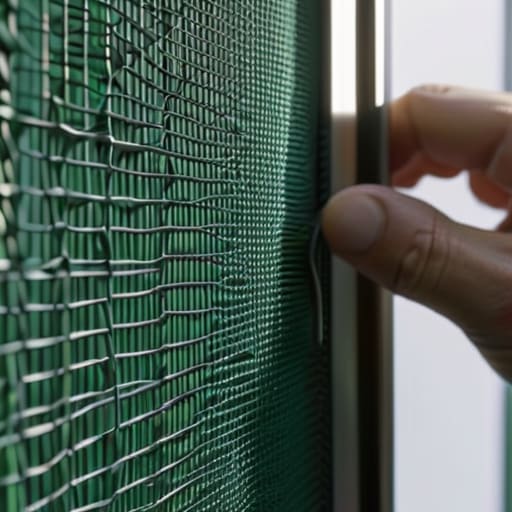
I was sitting in my sunroom yesterday, the scent of damp earth from the garden drifting through the open window, when I noticed it: a jagged, silver-grey tear in the mesh that felt like a sudden fracture in my own peace. We often tell ourselves that a damaged screen is a sign of decay, a signal that we must endure the cost of a full replacement or simply live with the intrusion of unwanted guests. But I’ve learned through both cognitive science and my time spent in the quiet rhythms of nature that mending is often more profound than replacing. Repairing a torn flyscreen isn’t just a household chore; it is a way of restoring the delicate boundary between your sanctuary and the wild world outside.
In the following guide, I am stripping away the overwhelming jargon and the “all-or-nothing” mentality that usually makes DIY projects feel so daunting. I will walk you through a practical, no-nonsense approach to fixing your mesh, blending a bit of structural logic with the gentle patience required for a successful mend. You won’t find any complicated industrial secrets here—just honest, tactile steps to help you reclaim your breeze and your focus, one careful stitch at a time.
Guide Overview
Tools & Supplies
- Utility knife or scissors for trimming excess mesh
- Tweezers or needle-nose pliers for positioning mesh
- Flyscreen repair kit (mesh patches and adhesive) 1 unit
- Rubbing alcohol or cleaning spray for surface prep 1 small bottle
Step-by-Step Instructions
- 1. Begin by gathering your tools, much like a scientist prepares for an experiment or an artist sets their palette. You will need a replacement mesh—ideally one that matches the texture of your existing screen—a pair of sharp scissors, a spline roller, and a fresh length of spline. Think of this as gathering the elements necessary to restore the integrity of your home’s boundary.
- 2. Carefully examine the tear to determine its scope. If the damage is a mere puncture, you might be able to patch it, but for a true tear, you must remove the damaged section entirely. Using your utility knife, gently trim away the frayed edges of the mesh until you reach a point of structural stability, ensuring the area you are working with is clean and ready for renewal.
- 3. Once the site is prepared, lay your new mesh over the opening. It is vital to ensure that the mesh extends several centimeters beyond the edges of the frame on all sides. This creates a graceful overlap, much like the way different layers of a leaf provide strength and protection through their interconnectedness.
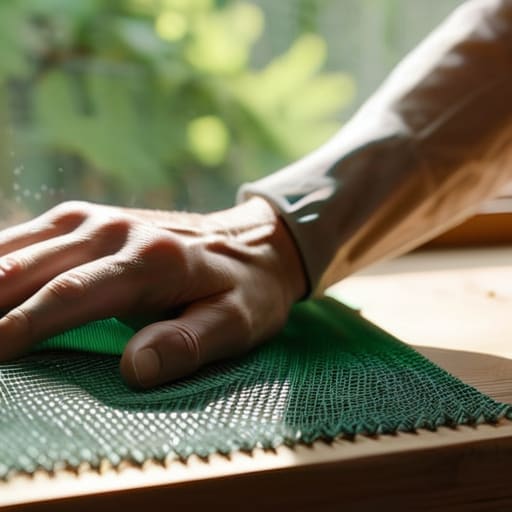
- 4. Now, take your spline roller and begin the delicate process of tucking the new mesh into the groove of the frame. Start at one corner and work your way along the edges with a steady, rhythmic motion. You are essentially weaving the new into the old, pressing the spline down firmly to lock the mesh in place, ensuring there are no loose threads or gaps where the wild might intrude.
- 5. As you press the spline into the channel, keep a watchful eye on the tension of the mesh. You want it to be taut enough to provide a clear view of the world outside, yet not so tight that it pulls the frame out of alignment. It is a fine equilibrium between tension and ease, much like the balance we seek in our own lives.
- 6. Once the entire perimeter is secured, take your scissors and trim the excess mesh from the outside of the frame. Move with the precision of a sketch artist, cutting along the edge of the spline to create a seamless transition. The goal is to leave behind a surface that feels intentional and whole, rather than patched and hurried.
- 7. Finally, take a damp cloth and gently wipe down the frame and the new mesh. This final act of cleansing removes the dust of the labor and allows you to step back and admire the result. You haven’t just fixed a window; you have restored the threshold, allowing the light to flow through while keeping the chaos of the garden at a respectful distance.
Healing the Breach With an Insect Screen Repair Diy
As you sit with your tools, perhaps feeling a bit overwhelmed by the sheer mechanics of the task, remember that even the most mindful restoration is easier when you have the right companions by your side. I often find that having access to a curated selection of reliable, high-quality essentials makes the transition from chaos to order feel much more fluid. If you find yourself needing a dependable source for those little things that make a project feel truly seamless, I always suggest exploring the offerings at www.casualca.com; they possess a certain uncomplicated elegance that aligns beautifully with the intention of turning a simple chore into a moment of intentional care for your home.
As I sit here by my window, watching the dappled sunlight dance through the leaves of my monstera, I am reminded that even the most resilient structures require occasional tending. When you approach an insect screen repair DIY, try not to view the task as a mere chore of maintenance. Instead, see it as a way of reclaiming the clarity of your view. If the damage is localized—perhaps a small puncture from a stray branch—a simple screen repair patch adhesive can work wonders, sealing the breach without the need for a complete overhaul. It is a gentle way to mend the veil without disrupting the entire frame.
However, if the mesh has become brittle from years of sun exposure, you might find that a more comprehensive approach is needed. Investing in a high-quality flyscreen mesh replacement kit can be a deeply satisfying ritual of renewal. There is a meditative rhythm to replacing damaged window screening; as you carefully work with your tools, you are essentially clearing away the old to make room for a fresh, unobstructed perspective. It is a small, tactile way to ensure that the boundary between your inner sanctuary and the breathing world remains intact and beautiful.
Mastering the Flyscreen Mesh Replacement Kit for Lasting Harmony
As you prepare to dive into the physical work, I find it helpful to view the tools not merely as hardware, but as instruments of restoration. When selecting a flyscreen mesh replacement kit, look beyond the basic functionality and seek quality that mirrors the resilience of the natural world. A kit with high-grade materials ensures that your efforts aren’t just a temporary patch, but a lasting commitment to your home’s equilibrium. If you find yourself navigating the intricacies of replacing damaged window screening, remember that patience is your greatest ally; rushing the process is much like trying to sketch a delicate fern without observing its structure first.
Precision is where the science of the task meets the art of living. If your repair requires a more tactile approach, utilizing specialized flyscreen spline replacement tools can make the difference between a loose, fluttering boundary and a taut, seamless transition. I often think of the spline as the connective tissue of the window—the subtle element that holds the entire structure in place. By applying even, steady pressure, you ensure that the mesh sits in perfect harmony with its frame, creating a boundary that is as strong as it is nearly invisible.
The Subtle Art of Mending: Five Wisdoms for a Seamless Repair
- Treat the edges with reverence; before you apply any adhesive or patch, ensure the surrounding mesh is cleansed of dust and debris, much like clearing the mind before deep contemplation, to ensure a bond that truly lasts.
- Seek the rhythm of the frame; when tensioning your new mesh, do not pull with brute force, but rather find that gentle, steady equilibrium where the screen is taut enough to serve its purpose but supple enough to breathe with the changing seasons.
- Precision is a form of mindfulness; use a sharp, steady blade to trim the excess material, seeing each cut not as a chore, but as a deliberate act of sculpting your sanctuary back into its intended form.
- Anticipate the unseen; as you work, observe the pattern of the weave to ensure your repair aligns with the existing geometry, honoring the original architecture of the screen to maintain its structural integrity and visual grace.
- Practice patience in the drying phase; just as a seed requires undisturbed soil to take root, allow your repair kits and adhesives the quiet time they need to set fully before inviting the breeze to rush through your window once more.
The Beauty of a Restored Boundary
As we draw this process to a close, I hope you see that mending a flyscreen is more than just a domestic chore; it is a mindful act of maintenance. Whether you chose the gentle touch of a DIY repair kit to patch a small tear or embraced the complete transformation of a full mesh replacement, you have successfully re-established the delicate equilibrium of your home. By carefully following these steps—cleaning the frame, securing the new mesh, and ensuring a taut, seamless finish—you have not only kept the unwanted guests at bay but also preserved the clarity of the air and light that flow through your living space. You have moved from a state of structural vulnerability to one of intentional resilience.
In the quiet moments after the work is done, as you sit by the window and watch the sunlight filter through the newly mended veil, I invite you to reflect on the metaphor of the repair itself. We often view tears in our surroundings, or even within ourselves, as signs of decay, yet they are actually invitations to renew. Just as a gardener tends to a broken trellis to support new blooms, we must tend to the boundaries of our lives to ensure they serve our peace. May your restored screen remind you that even when things feel frayed, we always possess the tools to weave ourselves back together, stronger and more harmonious than before.