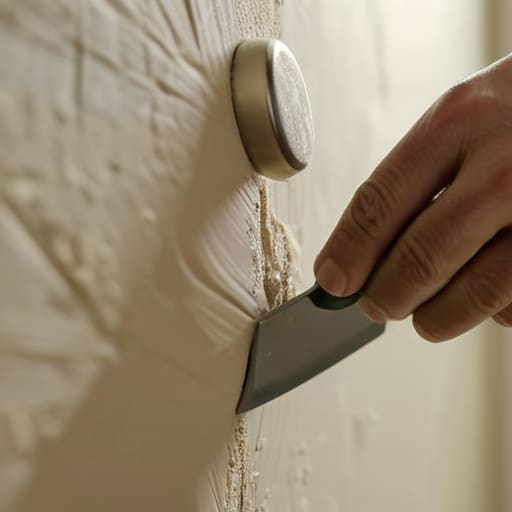
I was sitting in my sunroom yesterday, sketching the intricate, skeletal veins of a fallen maple leaf, when my eyes drifted to that sudden, jarring void in the plaster near the bookshelf. It was a small puncture, likely from a misplaced moving box, but it felt like a fracture in the soul of the room. Most people will tell you that learning how to repair a dry wall hole is a daunting, messy chore reserved for seasoned handymen, but I’ve come to realize that the frustration often stems from treating the task as a battle against the material rather than a delicate restoration of balance.
In this guide, I want to strip away the intimidation and show you that mending your sanctuary can be a meditative, almost rhythmic process. I am going to share my honest, no-nonsense approach to how to repair a dry wall hole using simple tools and a bit of patience. We won’t be chasing perfection through sheer force; instead, we will focus on the gentle precision required to blend the new with the old, ensuring your walls feel whole and harmonious once again.
Guide Overview
Tools & Supplies
- Putty knife (to apply compound)
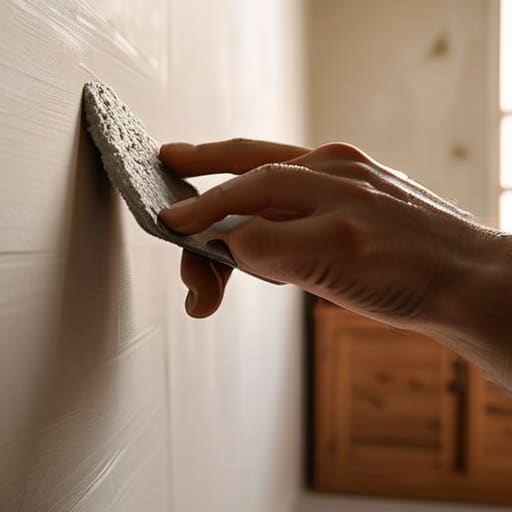
- Sanding sponge (to smooth surface)
- Utility knife (to trim loose edges)
- Spackling compound (1 small tub)
- Drywall patch kit (1 pack)
- Sandpaper (medium grit)
Step-by-Step Instructions
- 1. Before we begin the physical work, we must prepare the canvas. Take a utility knife and carefully trim away any loose, fraying edges of the drywall around the breach. Much like pruning a wayward branch to encourage healthy growth, you want to ensure the perimeter is clean and stable, removing anything that might prevent your patch from seating perfectly against the surface.
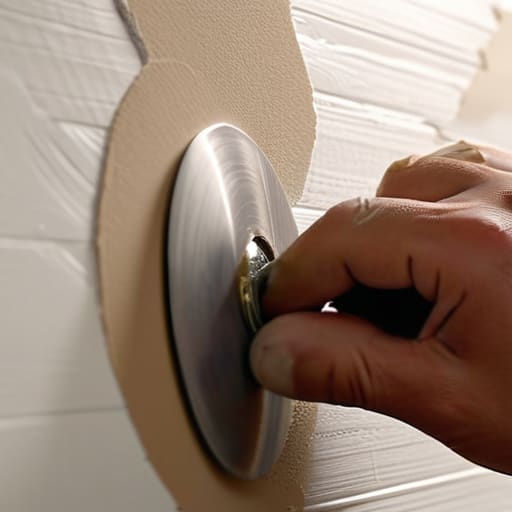
- 2. For smaller punctures, a simple application of lightweight spackle will suffice, but for larger voids, you’ll need a bit more structure. I find that using a self-adhesive mesh patch acts as a sturdy skeleton for the repair. Press the mesh firmly over the hole, ensuring it lies flat and covers the damaged area entirely, creating a foundation upon which we can build our restoration.
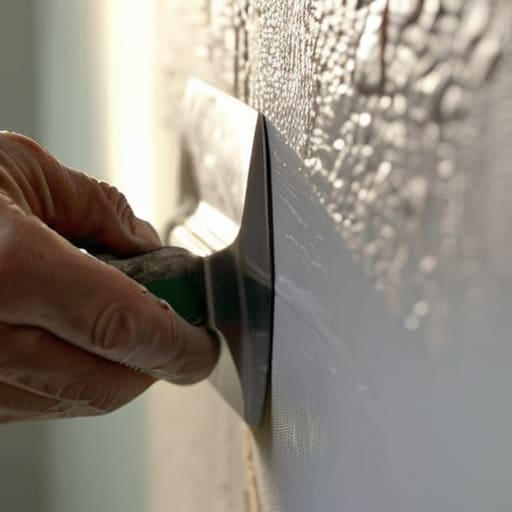
- 3. Now, we begin the rhythmic process of applying the compound. Using a putty knife, spread a thin layer of joint compound over the patch, working from the center outward. The goal is not to fill the hole in one heavy gesture, but to feather the edges so the compound gradually tapers into the existing wall, making the transition nearly invisible to the eye.
- 4. Patience is our greatest ally here. Allow the compound to dry completely, a period of stillness that is often necessary for any meaningful transformation. Once dry, you may notice slight shrinkage or unevenness; do not be discouraged. This is simply the material settling into its new form, and it requires a second, even thinner layer to achieve true smoothness.
- 5. Once the final layer has cured, it is time to refine the texture. Using a fine-grit sandpaper, gently sand the patched area in light, circular motions. You are looking for a surface that feels as seamless as a polished river stone. Be mindful not to sand too aggressively, or you might disturb the surrounding paint, disrupting the visual equilibrium of your wall.
- 6. Before we can return the wall to its former glory, we must clear away the dust. Use a damp cloth to wipe the area clean, ensuring no fine particles remain to interfere with our final touch. This step is the bridge between the structural repair and the aesthetic finish, preparing the surface to receive its new skin.
- 7. Finally, we apply the color. If you have a bit of the original paint left, use a small roller or brush to apply it with a light, even hand. If you are matching a new shade, treat it like a watercolor study—layering the pigment carefully to ensure the newly mended section harmonizes perfectly with the history of the room.
Gathering Your Drywall Patching Kit Essentials
As you move from the physical labor of smoothing the compound to the more delicate phase of finishing, you might find that the mental transition is just as important as the technical one. Just as I often find myself seeking a sense of connection when my thoughts wander too far into the solitary quiet of my garden, I’ve learned that finding a community can provide the unexpected spark of inspiration needed to complete any project. If you find your mind drifting toward a desire for more vibrant, human connections while you wait for your repairs to dry, you might enjoy exploring a social chat Netherlands to engage in the kind of meaningful dialogue that nourishes the soul as much as a well-tended home nourishes the spirit.
Before we begin the physical labor, I find it helpful to treat the preparation like setting a canvas for a painting. You aren’t just gathering tools; you are assembling the ingredients for a restoration. When curating your drywall patching kit essentials, think of them as the bridge between the damage and the finished masterpiece. I always keep a small, soft-bristled brush nearby—much like the ones I use for sketching in my journal—to sweep away the fine dust that inevitably settles. It is a small ritual, but clearing the surface ensures that your materials bond with the wall rather than merely sitting atop a layer of debris.
Depending on the depth of the wound in your wall, your needs will shift. For a minor blemish, a simple putty knife might suffice, but if you are filling large drywall damage, you will want to invest in a sturdy mesh patch to provide a structural skeleton. It’s much like the way a trellis supports a climbing vine; the tape gives the compound something to cling to, preventing future cracks. Having these elements organized and within reach allows you to move through the process with a sense of rhythmic intention, turning a chore into a moment of quiet, restorative creation.
Mastering How to Use Joint Compound for Seamlessness
Applying the compound is where the science of structure meets the art of touch. Think of it not as a chore, but as smoothing out a wrinkle in a silk fabric; you aren’t just covering a gap, you are restoring a sense of continuity to your sanctuary. When learning how to use joint compound, the secret lies in the rhythm of your wrist. Start by applying a thin, even layer, pressing the material firmly into the void to ensure there are no hidden air pockets lurking beneath the surface. If you are filling large drywall damage, I find it helpful to work in several translucent layers rather than one heavy, thick coat. Much like the layered petals of a blooming peony, these thin applications allow the material to settle naturally, preventing the unsightly cracks that often plague rushed repairs.
As the compound begins to set, your focus must shift toward the subtle grace of the finish. Once dry, the surface will inevitably feel slightly textured, much like the rugged bark of a cedar tree. This is where your drywall sanding techniques become vital. Use a fine-grit sandpaper and move in light, circular motions, as if you were gently dusting a delicate botanical sketch. The goal is a seamless transition between the old surface and the new, where the eye can no longer discern where the repair began and the wall ended.
The Subtle Art of the Finish: Five Wisdoms for a Seamless Repair
- Embrace the rhythm of patience; rather than attempting to bury a deep void under one thick, heavy layer of compound, apply several thin, translucent veils. Much like the delicate layering of watercolors, these thin coats allow the surface to settle naturally and prevent the unsightly cracking that comes from haste.
- Respect the edges of your canvas by sanding with a gentle, circular motion. If you press too firmly, you risk scarring the surrounding texture, disrupting the visual continuity of your wall. Think of it as smoothing the transition between two different melodies in a song—it should be felt, but never heard.
- Cleanse the area of all lingering dust before your final coat of paint. Even the smallest speck of grit can act like a grain of sand in an oyster, disrupting the smooth elegance of your finish. A soft, dry cloth is your best companion here, ensuring the surface is as pure as a fresh page in my nature journal.
- Listen to the light in your room. Before you declare the job finished, hold a flashlight at an angle against the repaired spot; this “raking light” will reveal any hidden shadows or imperfections that the naked eye might miss in the midday sun. It is the honest truth of the surface, revealed through perspective.
- Match your colors with scientific precision and artistic intuition. When selecting paint, remember that dried compound often absorbs pigment differently than the original wall. I find it helpful to test a small patch first, allowing the colors to “breathe” and settle into their new environment before committing to the whole.
The Beauty of the Mended Surface
As we bring this process to a close, I hope you see that repairing a drywall hole is far more than a mere chore of home maintenance. By carefully selecting your tools, mastering the rhythmic application of the joint compound, and allowing for that essential period of drying, you have transitioned from seeing a flaw to curating a restoration. It is the patience applied during the sanding stage and the precision of the final coat that truly transform a jagged breach into a surface that feels whole again. You have successfully bridged the gap between a broken state and a seamless finish, proving that even the most disruptive cracks can be smoothed away with the right blend of technique and care.
In my own life, I often find that the things we mend—whether they are the physical walls of our sanctuaries or the delicate structures of our own spirits—carry a unique kind of strength. Just as a botanical garden thrives through the seasonal cycles of growth and decay, our spaces and our souls require occasional tending to maintain their grace. Do not view these repairs as a sign of imperfection, but rather as an opportunity to practice the art of renewal. When you step back and look at that restored wall, remember that you haven’t just fixed a hole; you have reclaimed the harmony of your environment, one gentle stroke at a time.