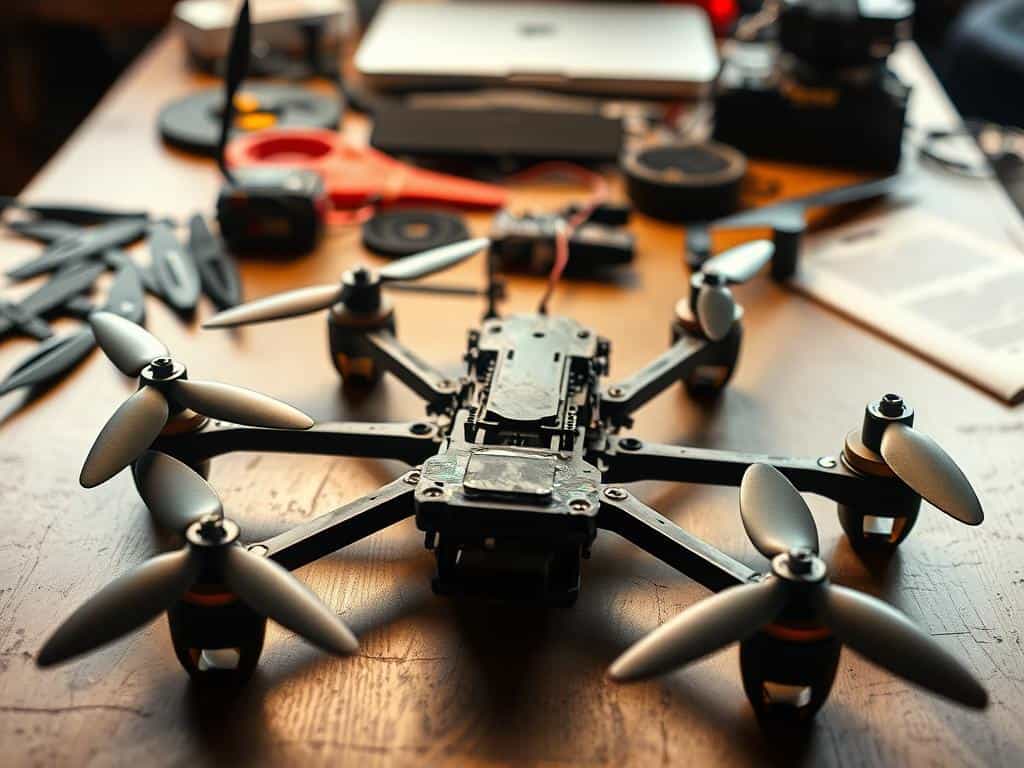
Did you know that a typical quadcopter needs about 500 grams of thrust per motor? This is to get a thrust-to-weight ratio of 2. It shows the amazing engineering behind these flying machines. It also shows how much planning is needed when you build your own drone.
More people are getting into drone assembly because of the excitement of making a flying machine from scratch. It’s both challenging and rewarding.
In this guide, I’ll take you through every step of making your own drone. We’ll cover everything from the basics to the final assembly. If you love tech and engineering or just want a new project, this guide is for you. It will help you understand drone building and let you fly your own drone.
Key Takeaways
- Quadcopters need significant thrust to achieve stable flight, typically around 500 grams per motor.
- Building your own drone enhances understanding of drone mechanics and components.
- Brushless motors are preferred for their efficiency and longevity.
- A proper assembly requires an understanding of thrust-to-weight ratios.
- Focus on selecting the right frame size, which significantly affects flight performance.
Introduction to DIY Drones
Technology keeps advancing, and so does the drone world. Knowing the different types of drones is key for anyone wanting to build their own. You might choose a quadcopter for fun photos or a hexacopter for heavy loads in farming.
My drone choice affects what parts I pick and how it’s built. This shapes what it can do and how I use it in aviation.
Understanding Drones: Types and Uses
Drones come in many types, each for different uses. Knowing this helps me pick the right one for my needs. Whether it’s for fun or work, understanding drone types is vital.
The Appeal of Building Your Own Drone
Building my own drone is very appealing. It lets me be creative and feel a sense of accomplishment. It turns me from a drone user to a creator.
This hands-on experience helps me learn more about technology and mechanics. Plus, it connects me with a community of hobbyists. We share ideas and experiences.
Essential Components for Your DIY Drone
Building a drone is exciting, and knowing the parts you need is key. You’ll start with the right tools, parts, and frame size. Understanding each part’s role helps you make smart choices.
Basic Tools Needed for Construction
Assembling a DIY drone needs specific tools for building drones. You’ll need a soldering iron, double-sided sticky tape, and zip ties. A multimeter is also essential for checking connections and voltage. Each tool is important for a successful build.
Key Parts and Their Functions
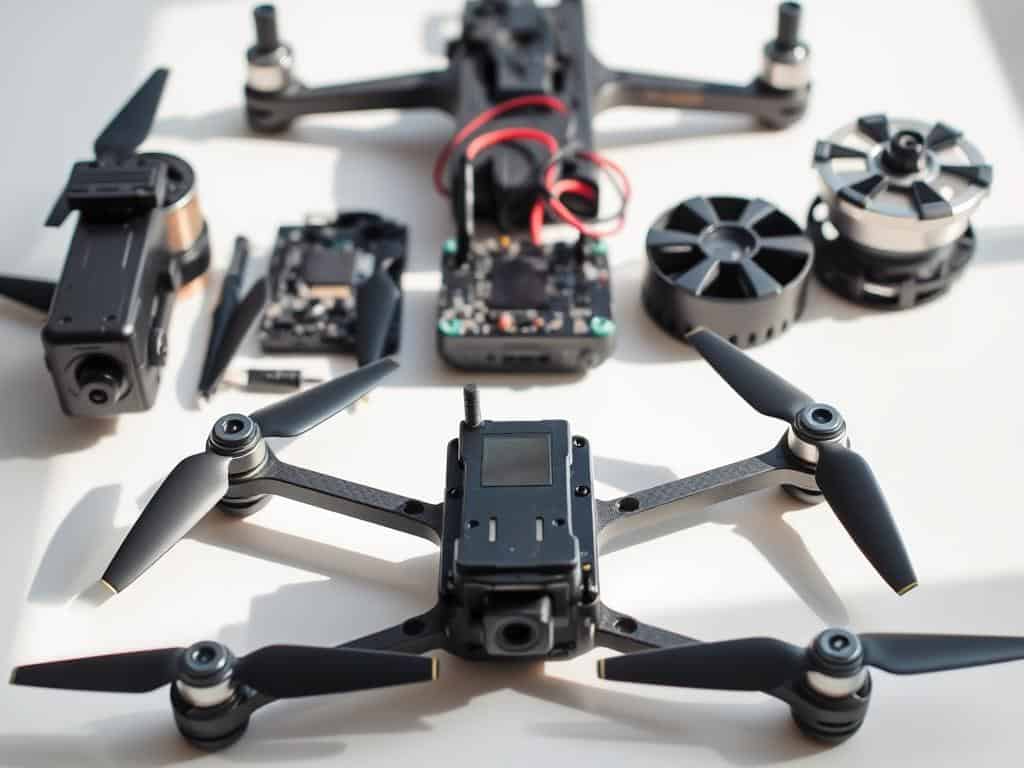
Many drone components work together to make a flying device. The frame is the base, supporting everything. Motors move the drone, and ESCs control their speed.
Lithium polymer batteries are great because they pack a lot of power. The flight controller is the brain, guiding the drone’s movements. Knowing what each part does makes building more rewarding.
Selecting the Right Frame Size
Choosing the right frame size is critical. Frames can be small (under 100mm) or large (over 400mm). The size affects motor and battery needs.
The frame’s design also impacts weight, stability, and performance. Picking the right size is key to your drone’s success.
Step-by-Step Guide to Build Your Own Drone
Starting to build your own drone can be thrilling but also challenging. Breaking it down into smaller steps makes it easier. Each step, from picking the right parts to calibrating, is important for a successful drone.
Choosing and Preparing Components
First, I pick the right motors, props, and batteries for my drone. I look for a *thrust-to-weight ratio* of 10:1 for mini quads. Choosing quality parts is key for better performance. I then get everything ready for assembly by checking each part and doing any *soldering* needed.
Tips for Assembling Your Drone
When I start assembling, being careful is essential. I make sure all wiring is right and parts are securely attached. I pay extra attention to motor orientation to avoid flight issues. Keeping my workspace tidy helps me stay organized and efficient.
Calibrating and Testing Your Drone
Calibration is a critical step before flying. I check that all sensors and controls work right, often using a GCS for calibration. Testing motor directions helps me find any problems early. This careful approach ensures my drone flies well and prepares me for testing.
Conclusion
Building my own drone has been a journey filled with learning and fun. It’s not just about the tech; it’s about the experience. With DIY, I can make my drone exactly how I want it, whether for speed, stability, or cool features like FPV cameras.
Going the DIY route saves money and offers a lot of benefits. I’ve learned a lot about mechanics, electronics, and how things fly. It’s great for anyone who loves to tinker, from students to tech fans. Plus, knowing how my drone works makes fixing it easier and cheaper.
The world of drones is always changing, opening up new uses and ideas. I enjoy flying my drone and see its value in photography, farming, and surveying. Whether I’m starting out or racing, there’s always something new to try. This hobby keeps me curious and excited about technology, pushing me to learn more.
